
Overview
Single video creatives are referred to as ‘one-by-one video production.’ A single video creative is fundamentally created by inputting and customizing editable elements of your chosen creative template through Shakr’s Video Editor. Check out the quick overview video below on how an awesome video is made at ease!
Here is an overview of Single video production with Shakr.
Before creating a new Single video creative, you need to have a creative template uploaded or imported in your project. Firstly, click on the + Create New button in the Creatives section.
In the ‘Create a New Creative’ window shows:
- Creative Type: Choose the creative type. Single Video Creative is selected by default.
- Creative Template: Check if the shown creative template is the right one that you want to use for video making. By default, the latest uploaded or imported creative template will be selected.
- Choose another design: Use other creative templates that you have uploaded or imported in the project for this particular video creative.
When you have set the creative type and the creative template correctly, click on the 'Confirm' button to proceed to Shakr’s Video Editor.
Using Shakr Video Editor
Shakr’s Video Editor is the tool that allows you to produce videos that fits to your context with ease, with the creative template that you have chosen. Here is the overall layout of the Video Editor screen:
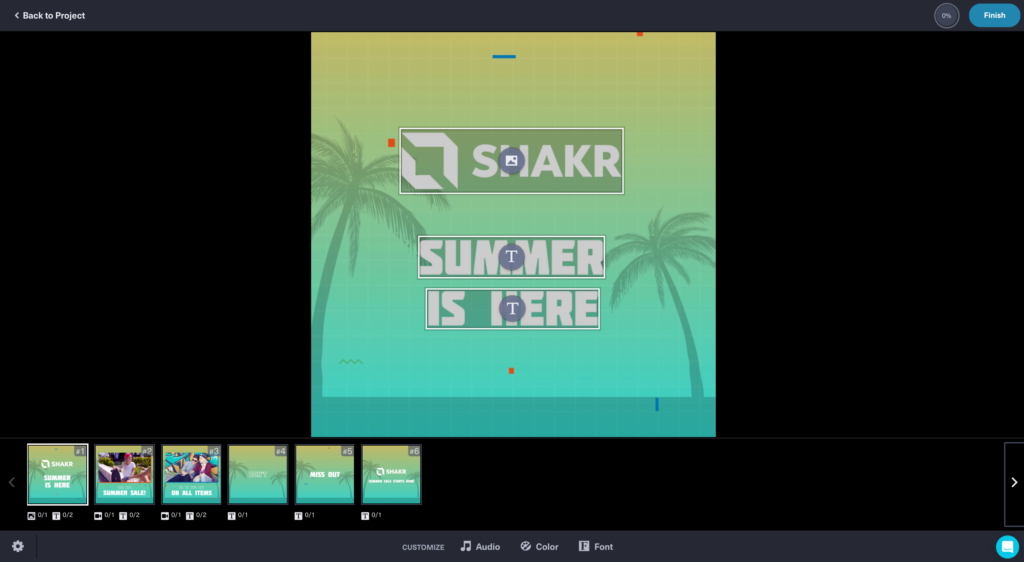
Scene (Still-cut) Editor
Enlarged view of each scenes in the creative templates. This is where you insert required editable slots (texts, images, video-clips) for the scene. Click on each editables to make edits, insert necessary media files and so forth. You can also shift around editable slots within a scene by simply pressing the '↑' and '↓' arrow keys in your keyboard.
Scene (Still-cuts) Navigation
At the bottom of the ‘Scene Editor,’ all of the scenes that exist in the creative templates are portrayed in a filmstrip view. Below each scene blocks (or still-cuts) you can see the number of editable slots (texts, images, video-clips) that are required for you to insert. The scene will portray a ‘green tick’ at the bottom right corner of the scene block once the scene is filled with all of the necessary editable elements.
Video Editor Settings
By clicking on the ‘gear’ icon at the bottom-left of the screen:
- Auto-advance scenes: When you finish filling up all slots in a scene, the editor will automatically advance to the next scene.
- Low-bandwidth mode: Load still image cuts instead of video-clips. Turn this option on if you have a slow Internet connection.
- Fast-forward Video (3x): Video playback in-between scene transitions will play 3x faster.
- Mute Sound in Editor: Mute sound while working in the editor. You will still have sound in the final rendered video.
Welcome to Shakr’s Video Editor!
Inputting Texts
It is very easy to edit texts when using Shakr’s Video Editor. First, click on a text editable element to edit the text in the area. Text editable slots are indicated with a "T" icon in the scene editing screen.
You can input the text you want on the main text box. Also, it is possible to disable the whole text box by turning off the toggle on top right. Then, the text area will render empty in final video.
With some creative templates, there may be a character limit to the text box. While it is possible to go over the character limit, the result text may not fit in the text box boundary.
Inputting texts – You can also toggle off unnecessary text editables.
Uploading Media Files (Images and Videos)
Shakr’s Video Editor provides various ways to upload media. The Editor adapts to the way how you work, and provides various options to source your media. Firstly, here are the recommended media file specs for you reference:
Image
- Size bigger than 700px, recommended size is 1080px (jpg, jpeg, png).
- As for brand logo images, use the one with transparent background.
Video Clip
- Recommended duration is clip longer than 5 seconds.
- mp4, m4v, mov, webm.
- maximum file size: 500 MB.
- For brand logos, have transparent background.
Click on the media editable elements to start the process of uploading media. These elements are indicated by either a video icon or an image icon. From here you can select from various sources to upload media to the uploader. Alternatively, you can also drag files you want to upload from your desktop.
- Browse: Access your computer’s File Explorer / Finder to find files to upload.
- Team Files: Access shared files to upload media directly from there. Refer to Team File Library to learn more.
- Stock Media Library: You can use media(images or videos) sourced from other Stock Media Libraries such as Unsplash, Pexels, Pixabay, etc. These are all cleared in terms of license for commercial use, so you can use freely in whichever the project you may need. Image library will automatically activate when uploading, and vice versa for video. Select the media you want after typing in a search term, then click
'Import'on bottom right to import the media to the editor. - Dropbox: You can also use your Dropbox to source the media you need. Log into your Dropbox account, and browse for your file using Dropbox’s web interface. When you select a media, it will automatically be imported to media uploader.
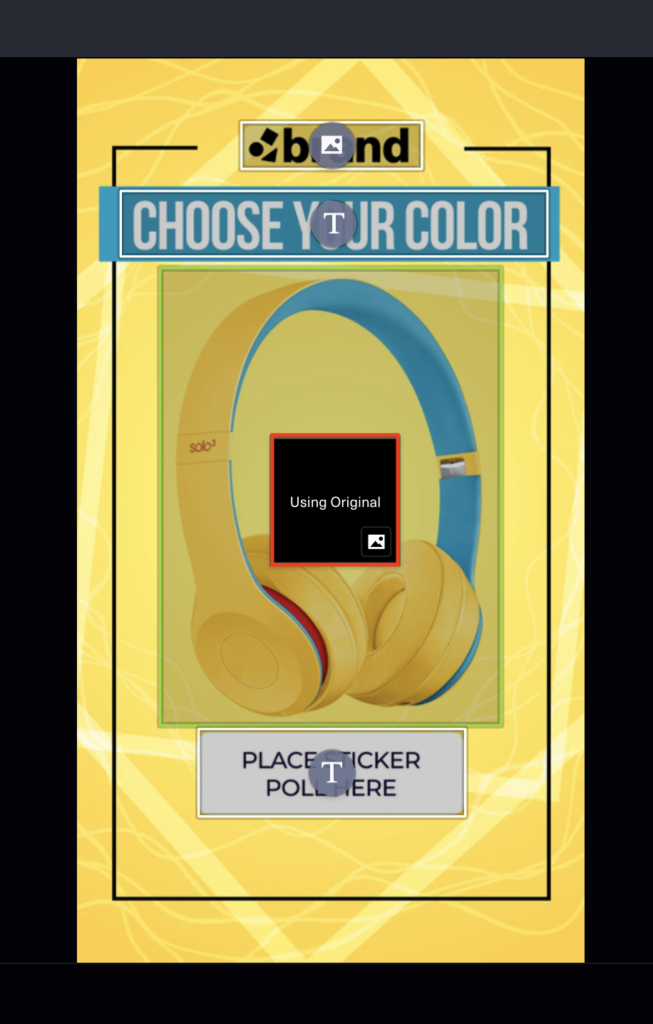
Using Original Asset
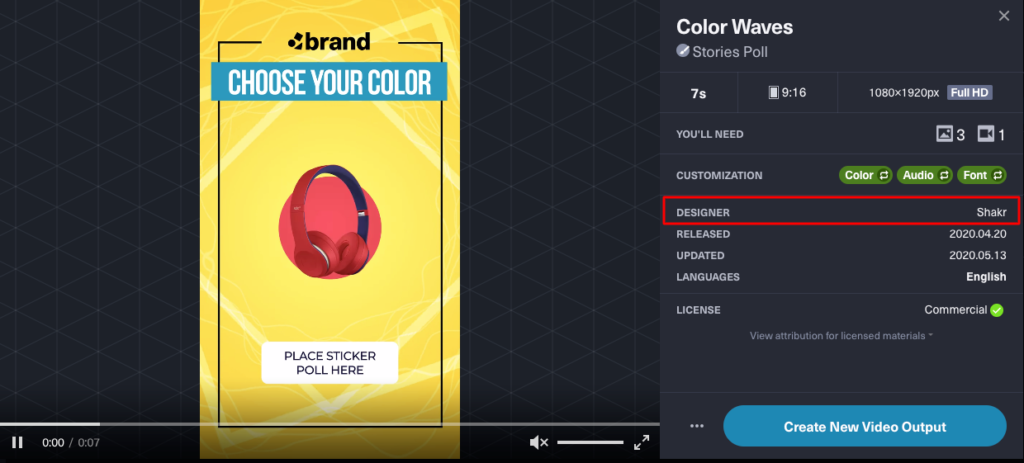
‘Using Original Asset’ refers to using image/video assets that are originally included in the creative templates. The ‘Use Original’ feature is only available for the selected Shakr Template Library templates that are designed by Shakr or any Custom Templates that you have uploaded in your team.
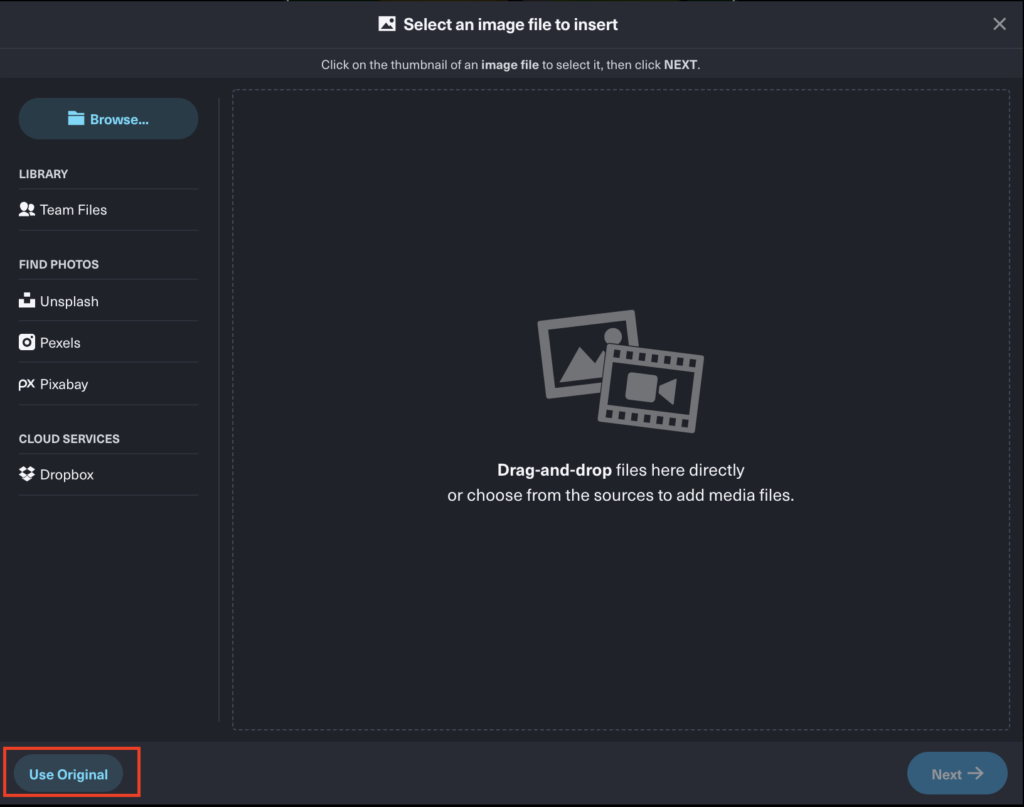
any custom templates that you have uploaded in your team.
Editing Media Files
After selecting the file, you can edit the file to fit into your video. There are three scenarios depending on which media file you upload to which editable slots.
Image to an Image Editable slot
When you upload an image to an image editable, you can crop the image within the boundary of the editable. Set the zoom slider at the bottom to fit the image to your preference. Also, you can swiftly fit the image’s width or height to the edge of the each boundary.
The ‘Fit’ feature suggests horizontal/vertical size optimization of the image.
Image to a Video Editable slot
When making a single video creative, it is also possible to upload an image to a video editable element. On a video editable, you can set a motion to move your image. Set a direction you want your image to move within the boundary of the editable, crop a point where you want to start, and select the speed. You can also preview the effect afterwards to see if the animation is to your preference.
You can add animation when the image is uploaded to a video editable slot.
Video to a Video Editable slot
When you upload a video clip, you can trim it to fit to the editable’s length. Adjust the clip to a position you want by using the slider, then press 'Play' to preview.
Trim the video clip (the ‘blue bar’ area will be applied to the actual video).
Customizing Fonts
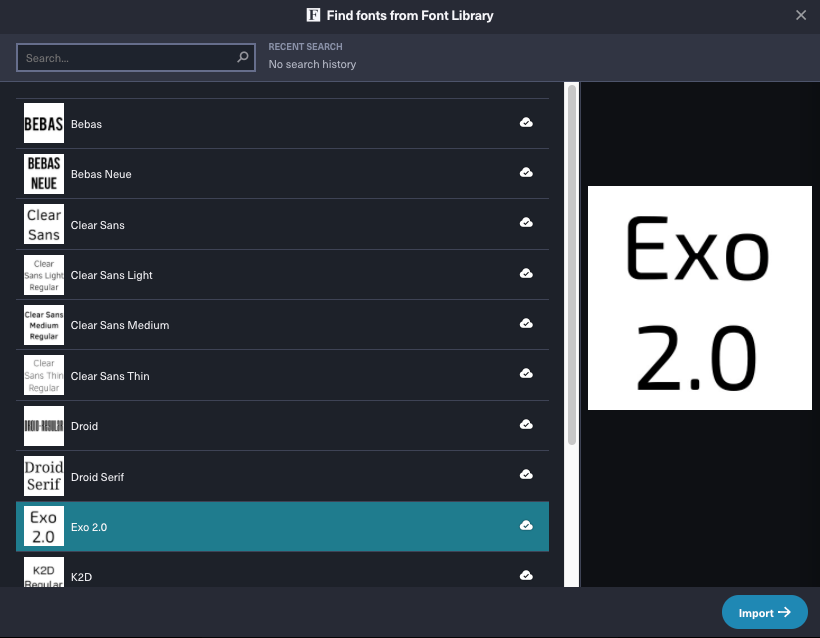
You can also customize fonts used on the creative template. Shakr provides various fonts that allows you to achieve creative freedom on our platform. In the editor, click on the font icon on the bottom of the editor. The list of fonts that were used will pop up. Click on Replace button on the font you want to change.
You can select two ways to source your fonts:
- Select from a Font Library that Shakr provides.
- Use your own custom fonts. Please check Uploading Custom Fonts to Team Library to learn more.
Once you have chosen the font you want to use, then click on “Import”. The font you have selected will be applied after the video editing and rendering has been finished.
The Customize Font button can be found at the bottom of the Shakr Video Editor.
Preview and Apply different font from Shakr’s Font Library.

Original font & customized font comparison (same creative template)
Customizing Audio
Majority of creative templates in the Shakr Template Library have license-cleared audio track integrated. Before selecting the creative template, you can check if the creative you have chosen supports customizing audio.
If the creative template does not have any audio integrated, using your own audio track is also available but please adhere the following:
- When you add a custom audio file, it should be at least 1~2 second longer than the template length as the system requires a “bumper” to avoid any kind of rendering issues.
- You can only use audio tracks you created yourself, or have a commercial license that allows video usage. You cannot use musics from sites like iTunes Music Store or YouTube downloader sites.
- Keep in mind that when you change the audio track of a video, you’re solely responsible for any potential copyright infringement complaints (A social media platform could block your video due to copyright issues). If you want to be 100% sure about using commercially licensed music, you’re free to keep the original audio track.
On top of that, we also recommend using alternate audio sources, please check out these websites that provide royalty-free audio sources:
- YouTube Audio Library: https://www.youtube.com/audiolibrary/music
- Free Stock Music: https://www.free-stock-music.com/
- Filmstro Royalty-Free Music Library: https://filmstro.com/music
- Bensound Royalty-Free Music: https://www.bensound.com/royalty-free-music
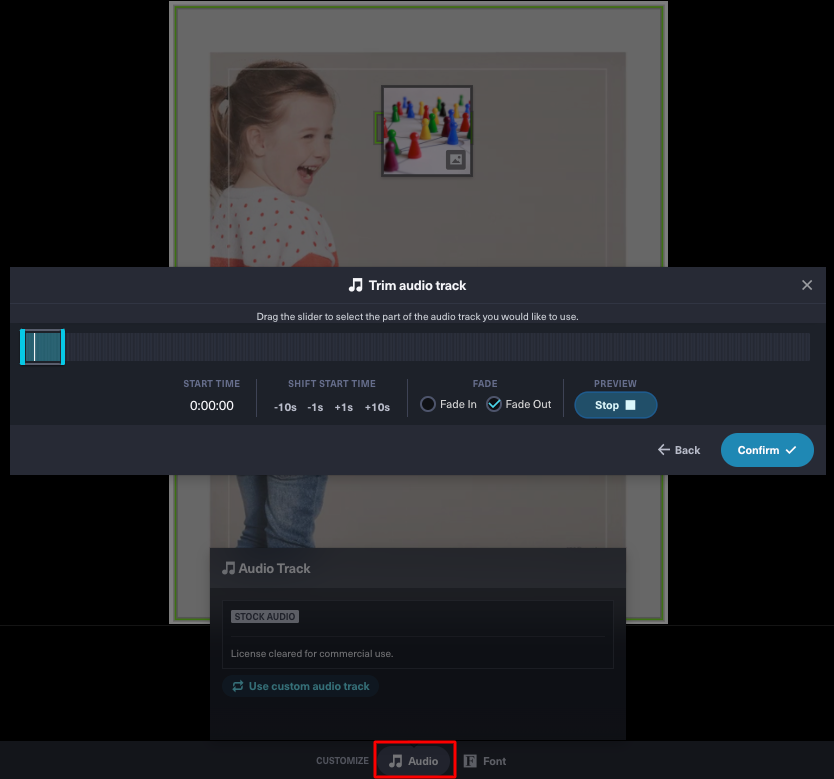
In the Video Editor, let’s get started by click on audio icon on bottom of the screen. Then click on the 'Use custom audio track' button.
There are several ways to upload your own custom audio tracks:
- Browse / Drag and drop: Browse for an audio file from your desktop. You can also drag and drop files from desktop into the editor.
- Team Files: Browse for audio files from your team’s file library.
- Dropbox: Connect your Dropbox account and find a file from your Dropbox cloud storage.
Once you have chosen the audio track, select the part of the audio track you’d like to use for your video. The length of the audio you can use equals the total duration of the video.
The Customize Audio button can be found at the bottom of the Shakr Video Editor.
The audio area covered by the ‘blue slider’ will be applied to the actual video.
Once the audio track is uploaded, the 'Custom' label will be displayed next to the music icon. This means your audio file has been applied to your video! Now finish making your video as usual, and you’ll hear the audio you’ve selected when you play the video.
Customizing Color
For some creative templates from the Shakr Template Library, it is possible to customize color in the video. Before selecting the creative template, you can check if the creative you have chosen supports customizing colors.
In the Video Editor, let’s get started by click on the ‘color icon’ on bottom of the screen. Then choose a part of the creative that you want the color to be changed.
We provide three methods to changing the colors.
- Curated colors: These are a collection of colors that are generally popular and go well with most of the creatives.
- Color slider: You can select the hue and the exact saturation point.
- HEX code: You can put in an exact HEX code if you have one. It can be very useful if your brand has specific brand color with defined HEX code.
When you are finished with the color selection, click on Save. The selected color will render when the whole video production is finished. If you don’t like the color, you can always go back to the Video Editor and change the color.

The Customize Color button can be found at the bottom of the Shakr Video Editor.
You can customize the template’s colors with few simple clicks.

Original color & customized color comparison (same creative template)